RoboSnap
assemble • snap • export
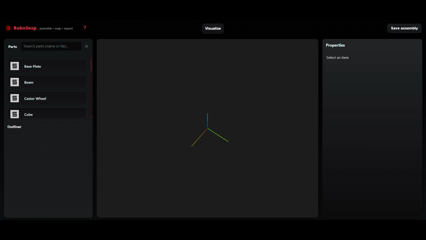
Welcome! Use parts from the left column to assemble robots, snap attachments with the attach points, and export a URDF. Click Start building to open the editor.
Welcome! Use parts from the left column to assemble robots, snap attachments with the attach points, and export a URDF. Click Start building to open the editor.
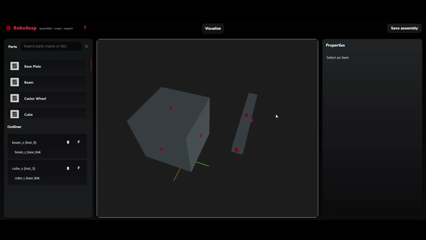
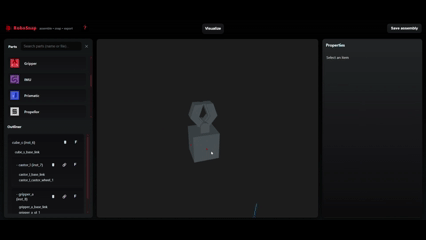
Adding Parts: Drag and drop parts from the left panel directly into the 3D workspace to start building your robot assembly.
Selection Controls: Left click to select parts, right click to deselect. Selected parts will be highlighted with a red outline.
Transform Controls: Use G (move), S (scale), and R (rotate) keys to position parts. Avoid using these after attaching parts together.
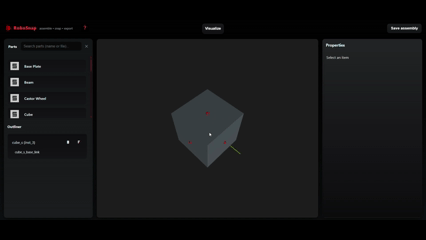
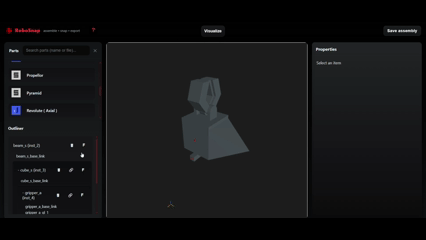
Snapping Parts: Select a part and click on red attach points (they turn green when ready). Then click on another part's red attach point to snap them together.
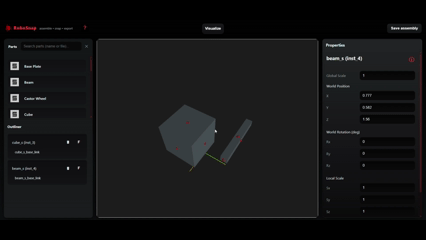
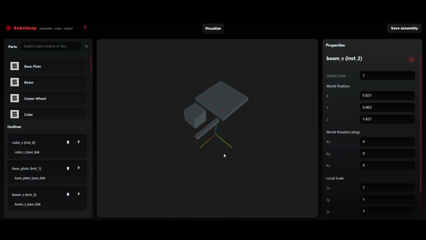
Joint Adjustment: Use the properties panel to fine-tune the orientation of snapped joints. Use "Edit joint" to modify previous orientations.
Object Information: Use the info tab to get detailed information about the bounding box and dimensions of selected objects.
Duplication: Use "D" to spawn a duplicate of the selected part at your cursor location. Left click to place it.
Unlink: Unlink a child from the parent link. Use Delete key to remove parts from the scene.
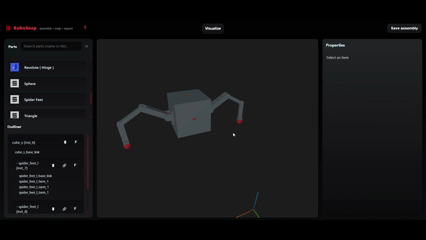
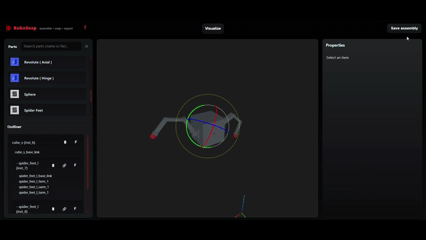
Visualization Mode: Use the visualize button to see the complete assembly and use the sliders to test joint movement.
Export Assembly: Save your assembly as a complete ROS2 package with URDF, launch files, and mesh files. (Experimental feature)
For more information and source code:
Visit the GitHub Repository